

Post by Brian on Jan 6, 2019 16:48:54 GMT -5
My first pour of 2019  .....
.....
This actually began last Summer...so to speak... alumilite.freeforums.net/thread/475/25-scale-dry-sump-mold in late August,I had said "Full disclosure.....except for aprox. 10g for the 2nd half of the Lego box mold which was the last of the HS-2 that I had purchased direct from Alumilite, the rest is HS-3 purchased from a local Hobby Lobby.....I plan on doing a post dispelling any negative consequences about purchasing from a big box store vs. purchasing from Alumilite direct where HS-3 is concerned ...stay tuned."

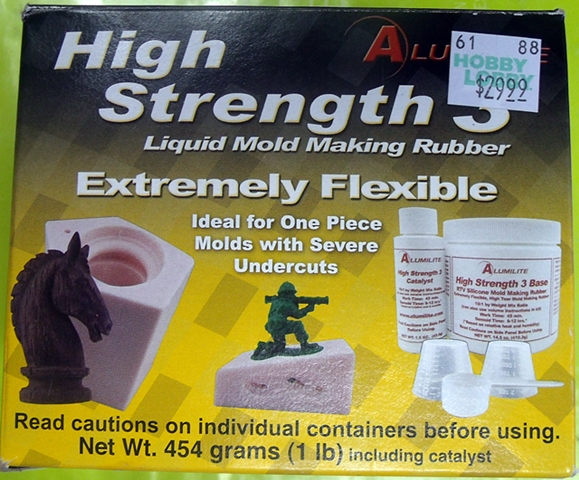
Printed off the 40% discount coupon before heading out...saved $12.00 I purposely pulled the box from the back of the rack...there where only 2, looks like that is/was all they would have on the floor at any given time. I pulled the back one thinking that if the front one had been sold, an associate would have simply restocked the shelf by placing a box of HS 3 in the open part up front verses rotating stock.
There have been several post over time claiming that the HS 3 that they had purchased from a big box, brick and mortar store was bad or went bad shortly after purchase. Since my purchase in Aug. of 2018, I have done a couple of things not advisable to the HS 3
1) Left the lids off for extended periods of time....introducing air and perhaps moisture during the Summer to the product.
2) Variances in temperatures....even though I have kept it in the hobby room, there has been temperature changes from Summer, to Fall to Winter...exposer to direct Sunlight, storage in a dark,cool area, back to direct sunlight for weeks, back to a dark, cool area for weeks more.
I am going to assume that everyone who has purchased the HS 3 has read the back side of the box where the directions are located and noticed where it states "Best if used within 6 months of purchase" ...so technically I still have aprox. 2 months to go where its "best" performance will/would occur. I have been kicking around the idea of making another purchase of HS-3 , doing the same things described above (lids off, variances in room temperatures) as well as an extreme temperature fluctuation from Winter to Summer by storing it in my non heated, non air conditioned garage ( below freezing to near triple digits in the Summer) and doing a pour 9 months to a year after purchase just to see what will happen.
NOW ON TO THE POUR....
As previously mentioned, I'll be using the deliberately abused HS 3 that I purchased back in August of 2018 for this pour.
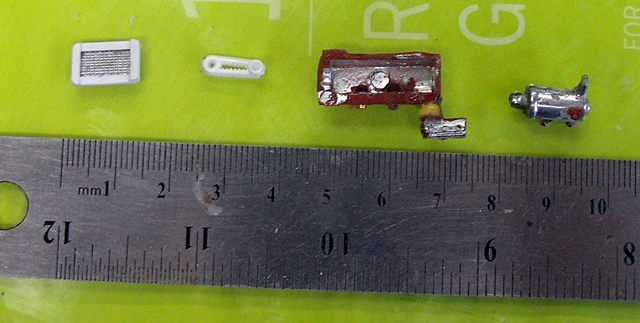
This is also going to W.I.P utilizing a multiple small piece gang mold. In this case , these are 1/25th scale dry sump oil system parts and pieces. I figure small pieces with fine detail will really put the HS 3 to the test.
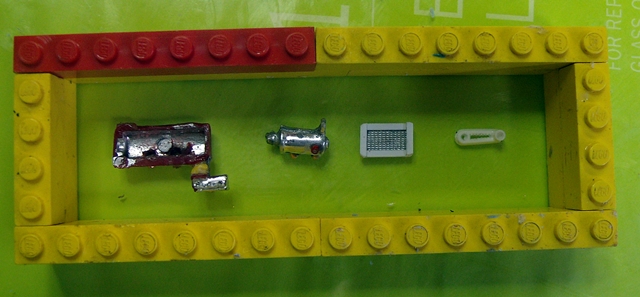
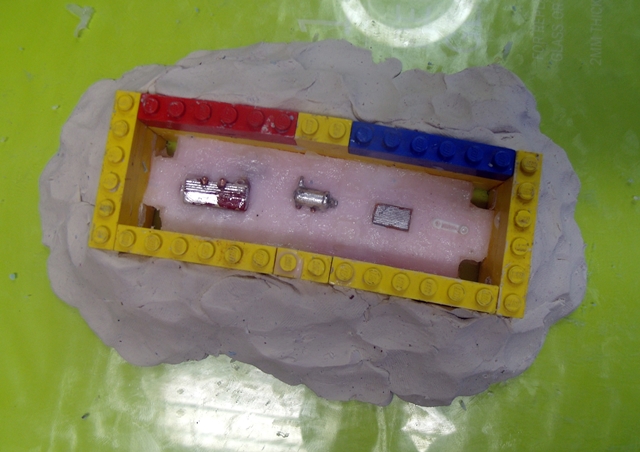
Dug out the LEGOs and built a mold box. The box is aprox. 1/4" larger than the area comprised of the pieces to be molded.
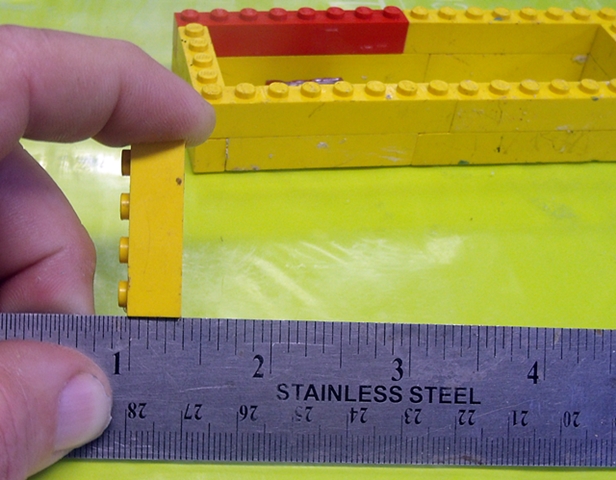
A LEGO is just over a 1/4" tall. I use this as a gauge for pouring and modeling clay thickness....knowing the height of the block lets me know aprox. how thick the pour is or the depth of the modeling clay for a multi part mold.
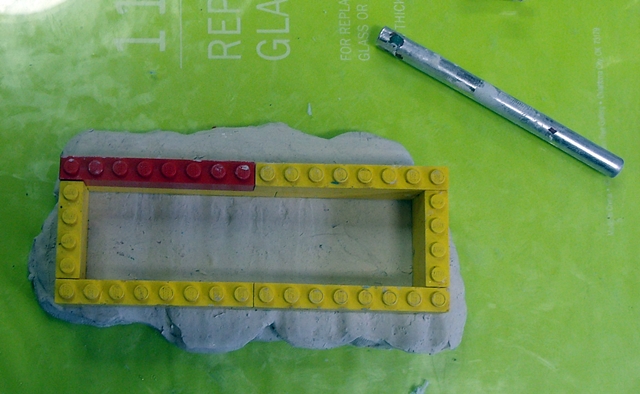
Using the X-Acto knife handle , I rolled the modeling clay out till it was aprox. 1/4" thick using the LEGO block as my gauge. I then pressed the assembled LEGO blocks down onto the modeling clay , leaving an impression in the clay.
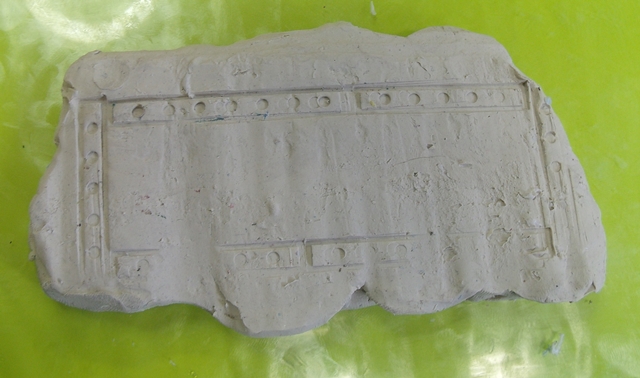
Using a knife, trim away the excess modeling clay....everything from the inner portion of the blocks imprint outward is excess. Once that is done, the clay block should fit inside the assembled LEGO block portion.
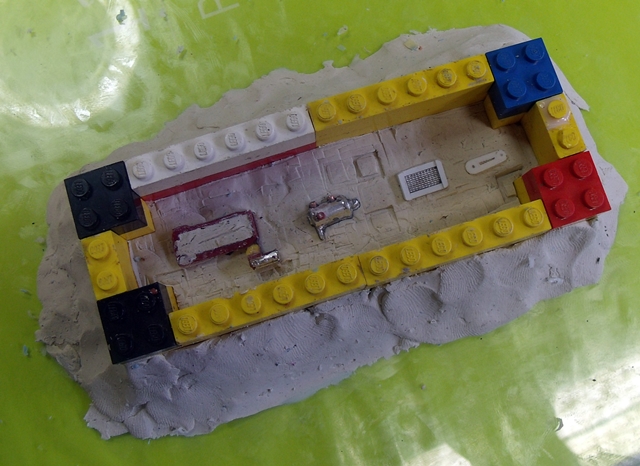
I've placed the parts into the modeling clay as this is going to be a 2 part mold. The oil sump "pan" has been filled with modeling clay so that not as much RTV silicone will used on something that's not going to be visible when the engine is assembled.
I chunked up some of my no longer used molds for filler....like I have stated several times in the past,Silicone bonds to itself quite well.
This part is where the HS 3 comes into play.......
Mixed up the HS 3 ...I am going to make a some suggestions to Alumilite.
On the HS 3 instructions, there are a couple of areas that I see that could stand a change.
1) Step 3: Mix Silicone Rubber
. Mixing Instructions: Mix thoroughly, making sure to scrape sides and bottom..........
My suggestion . Mixing Instructions: Mix thoroughly, for approximately 2 minutes and not less,making sure to scrape sides and bottom..........
2) Step 4: Pouring your silicone rubber mold
My suggestion Brushing the silicone rubber on the item(s) to be molded will reduce the chances of air bubbles being trapped between the item(s) being molded and the silicone rubber.
3) Helpful Tips
. Always shake the catalyst bottle before using.
My suggestion Always shake the catalyst bottle for approximately 1 minute before using.
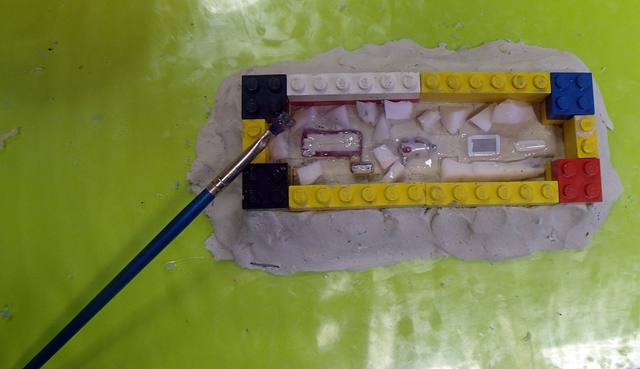
Back to the project....since the work time is aprox. 45 minutes, I took the time to carefully brush on the silicone rubber to the pieces before the pour. I have found , in the past, that this greatly reduces the chances of air bubbles being trapped on the piece that I am making a mold of and since RTV silicone bonds to itself quite well, no issues.

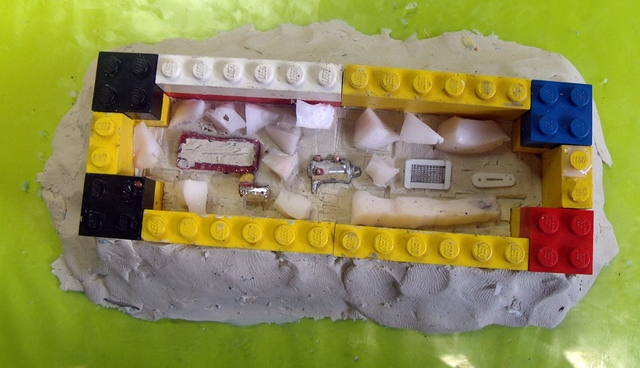
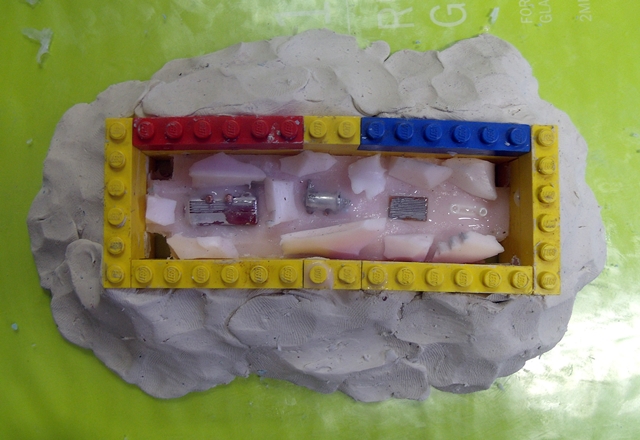
Poured into the left side allowing the silicone to flow over the pieces. The rising air bubbles don't worry me much since I brushed silicone on the pieces prior to the pour. The corner blocks that stick out will be the alignment lugs for the 2 part mold.
I poured this around 2 O'clock this afternoon, it's now 5:15 p.m The mold is curing quite well at this writing...I see absolutely no reason why I wont be able to pour the second part tomorrow after work.
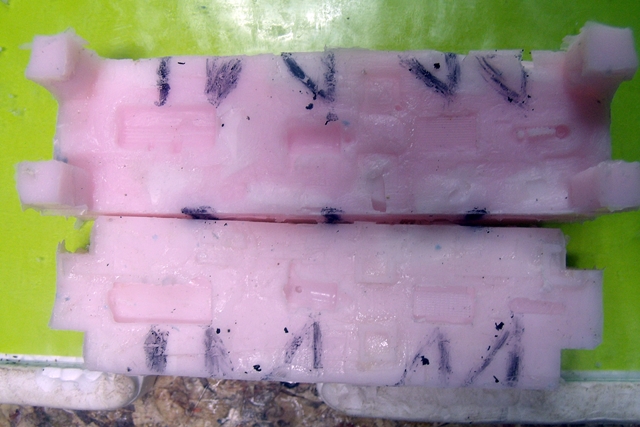
 . I attribute this to brushing the Silicone on the pieces to be molded prior to the pours verses just pouring....this is something else that should be included in the instructions as I had no evidence of air bubbles being trapped against the pieces to be molded while there was many air bubbles/pockets that where present moments after the pour was completed.